The third step in creating a full-featured access control application adds the door open sensor and an alarm relay. Again, a keypad key is used instead of an actual door sensor wired to your TPS' IO line to simplify testing. The F4 key (marked "DOOR SENSOR" on the LCD) stands for the actual door open sensor.
The door open sensor has two functions:
- When the door is unlocked by reading a valid ID card or pressing the exit button (F1), and then the door is "opened" (F4), the lock is deactivated immediately: Since the door opening has been detected, there is no reason to wait for the lock_activation_duration time to elapse.
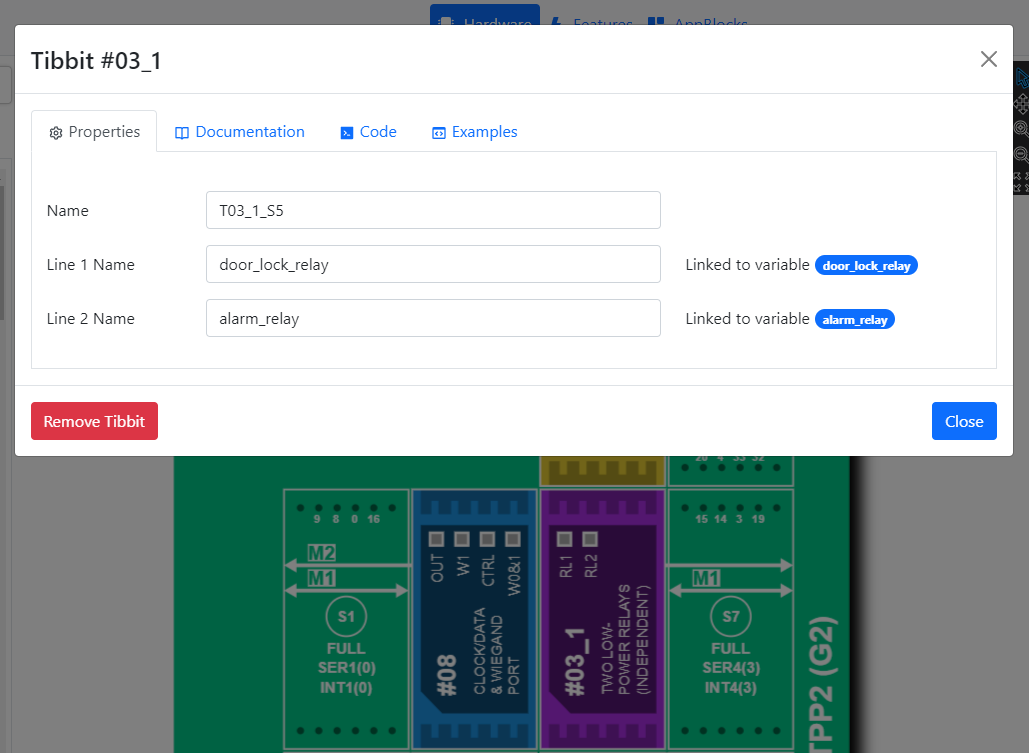
- Opening the door without presenting a valid ID card or pressing the exit button is interpreted as a forced entry, and the alarm relay is activated. The alarm relay is the second relay of Tibbit #03-1. Also, the TPS' buzzer generates an audible tone during the alarm activation.
It is not possible to hear the buzzers of Cloud ADKs.
In the AppBlocks Demo Kit (ADK), the door lock relay is connected to a green LED marked "RL1." The alarm relay is connected to a red LED marked "RL2."
These LEDs are visible in the virtual panels of CloudADKs as well.
Once the alarm relay is turned on, it can only be turned off through the web dashboard.
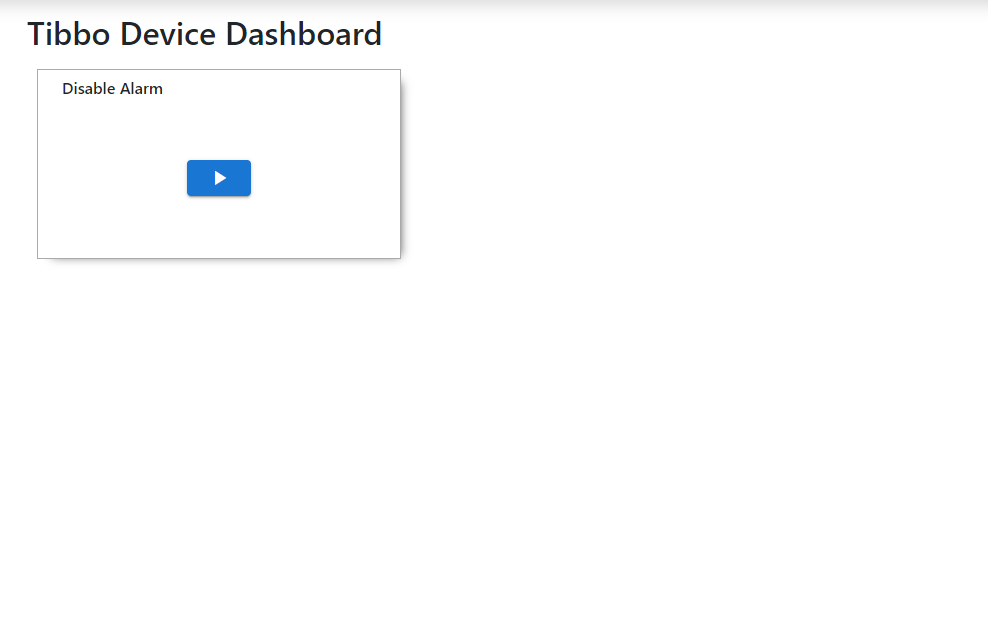
Web dashboards have already been discussed in the Sprinkler Control 5 project. The dashboard of the present project introduces a new type of dashboard widget -- the Button widget.
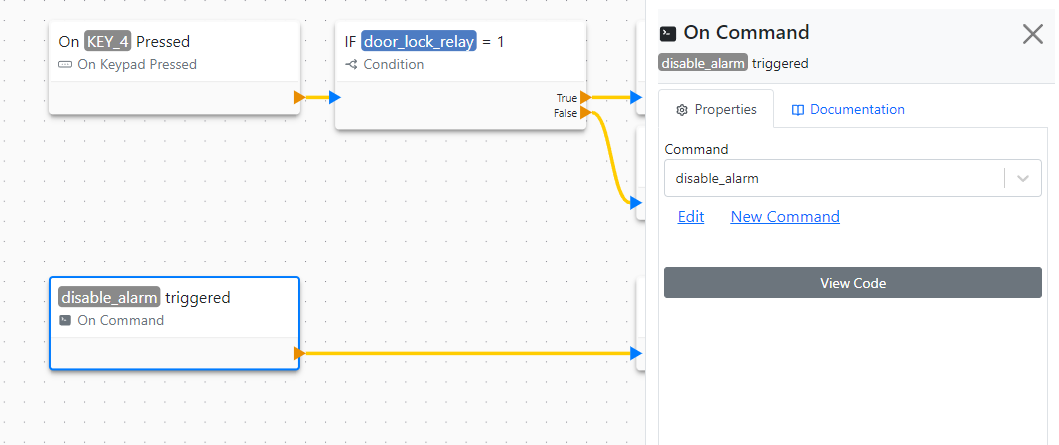
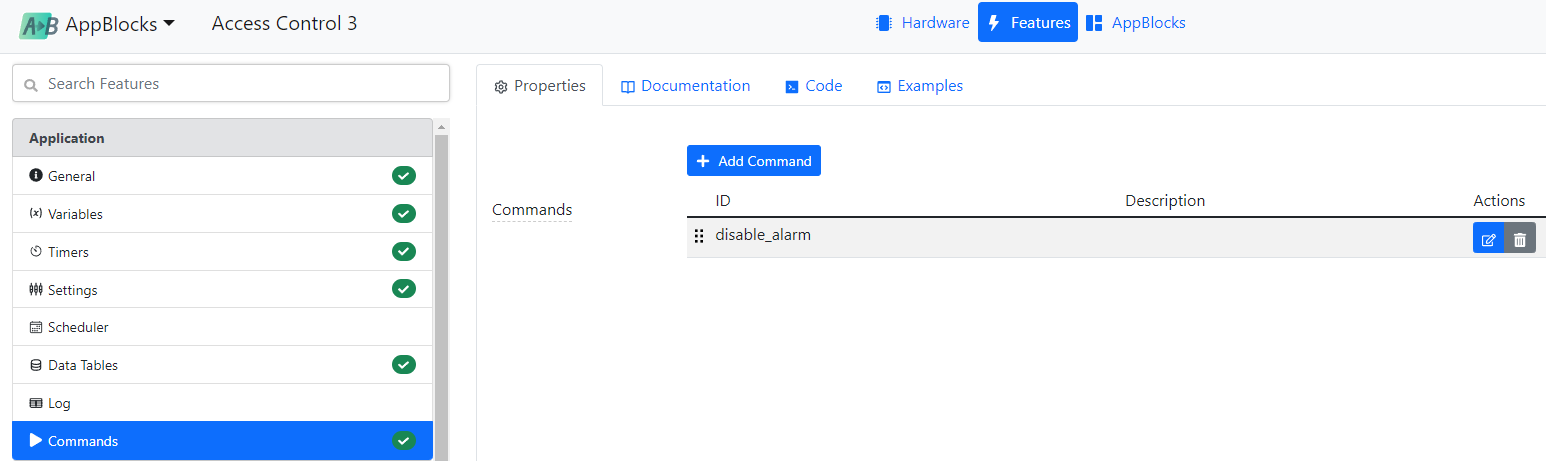
Dashboard buttons send commands, and commands are defined in the Command page of the Features tab. In this case, the disable_alarm command is sent.
When a command is sent, a corresponding On Command event block is triggered (each On Command block must have a command selected for it):