On a TPP2(G2) device equipped with an LCD, you can access a settings menu that enables users to modify the device's settings using the LCD and keypad buttons This project builds on the Settings application from the tutorial series and demonstrates how to configure and navigate through the settings menu on the LCD.
The LCD and keypad need to be enabled for this project. You can do this in the Hardware Tab:

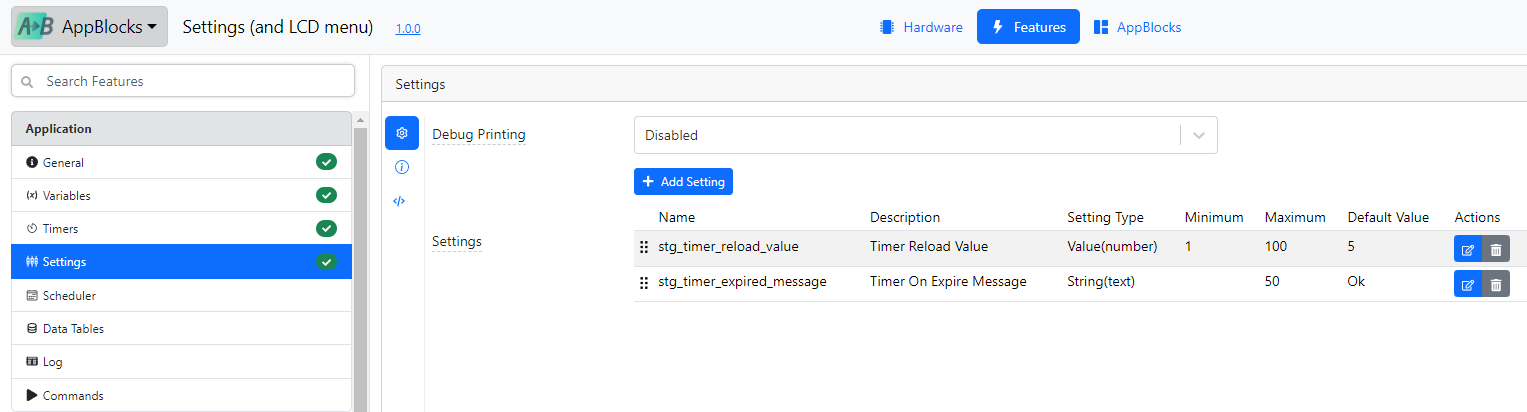
A number setting was previously created in the Settings tutorial to adjust the timer interval. We will add a string setting to the project. The string setting will be used to change the message that is logged to the console once the timer has expired.
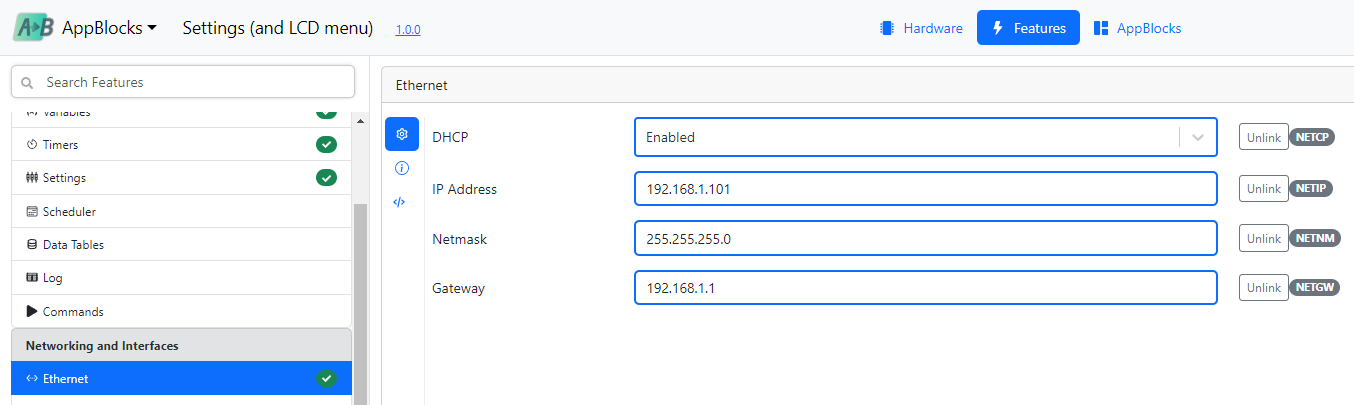
We will also link all properties in the Ethernet feature to settings. This will allow us to change the IP address, subnet mask, and gateway using the LCD menu. The process of linking settings is explained in the LUIS Interface tutorial.
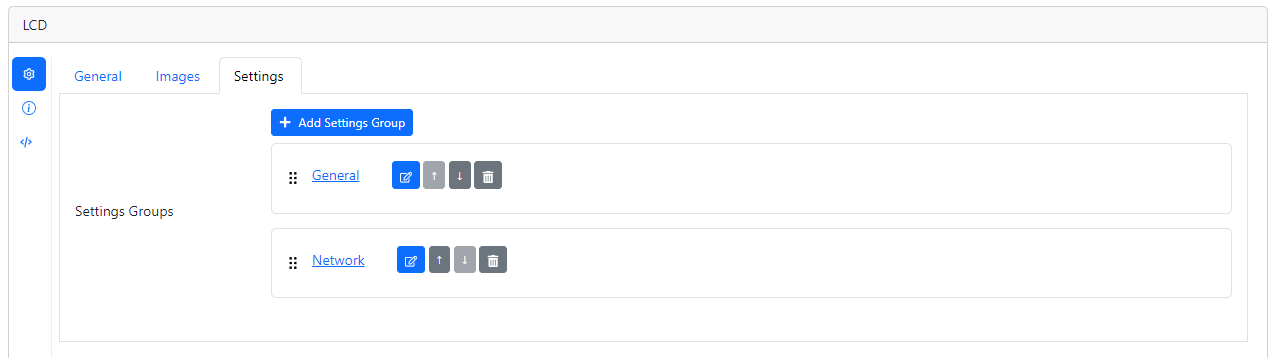
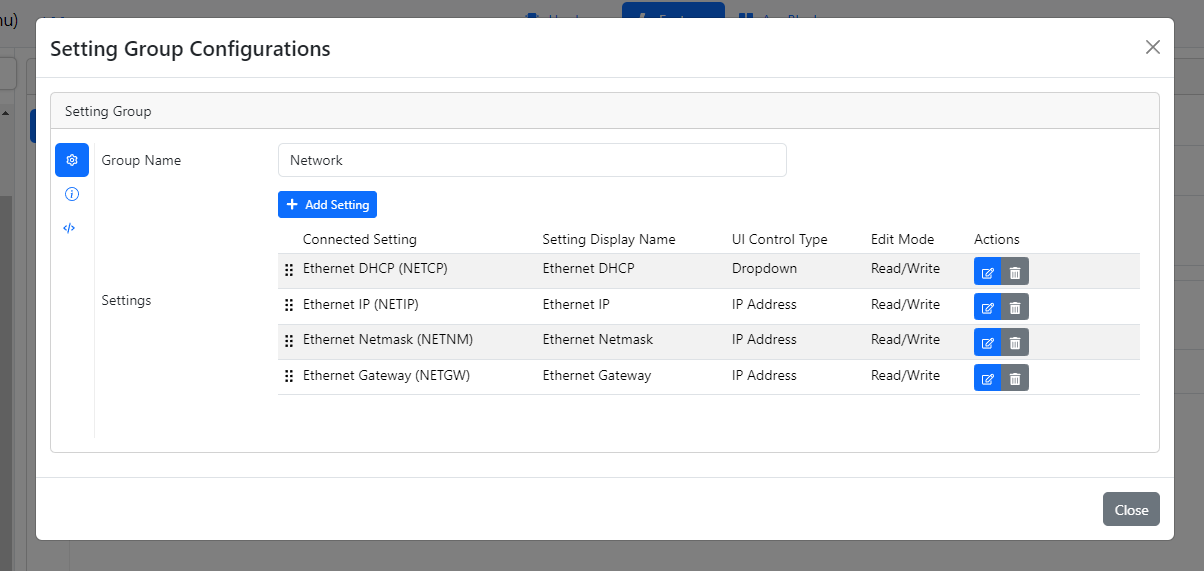
Adding settings to the LCD menu follows a similar process as adding them to the Web Dashboard. Go to the Settings section of LCD page in the Features Tab and add the settings you want to edit in the LCD menu. Each setting must be categorized into a settings group. In our project, all the settings from the Ethernet feature are in a group called Network. The timer related settings will be in the General group.
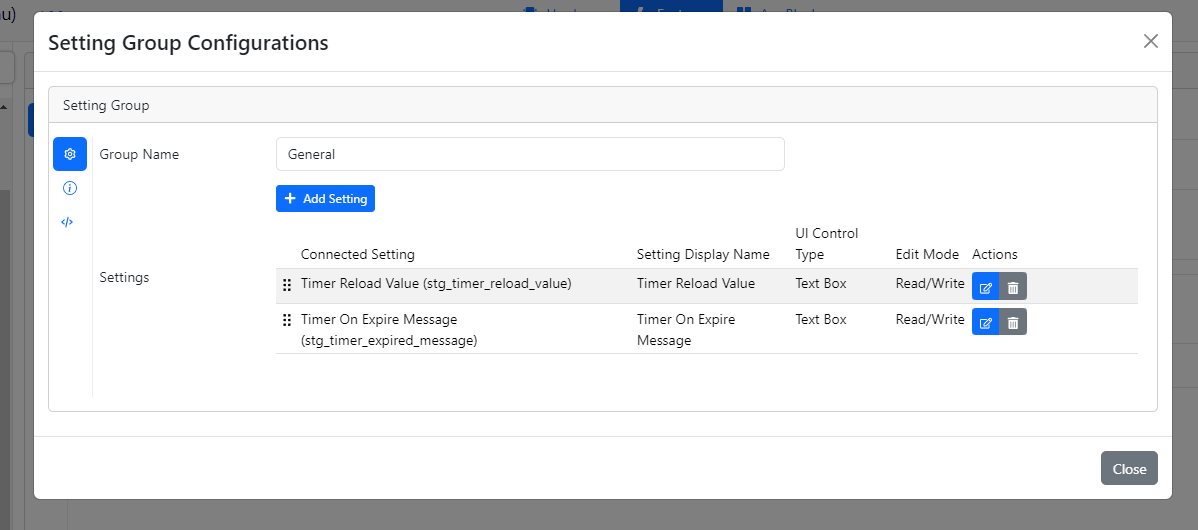
Below, the content of each group in the LCD menu is described. Similar to other interfaces, various options are available for each setting, including UI Control Type and Edit Mode.
The last step before running the project is to add the Enter LCD Menu block in the AppBlocks tab. As its name suggests, this block will allow you to enter the LCD menu after triggering it with some event. In this example we choose to do it when the MD button is pressed.

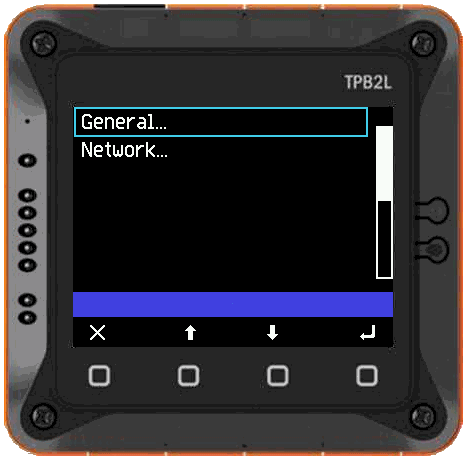
Upon running the project, pressing the MD button enters the LCD menu, displaying the list of groups we created. The icons above the Keypad buttons indicate the actions that can be performed, namely from left to right: Exit/Cancel, Up, Down, and Enter/Confirm.
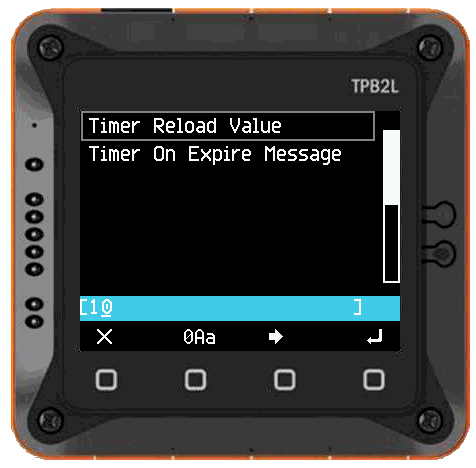
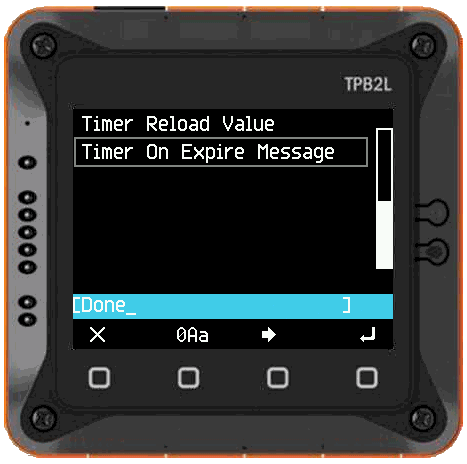
Next, we navigate to the General group and change the timer interval to 10 seconds. To do so, we press the Enter/Confirm button once to select the group, and once again to edit the setting. In edit mode, the second and third Keypad buttons now change the selected character and move the selected character to the right (or back to the first character) respectively.
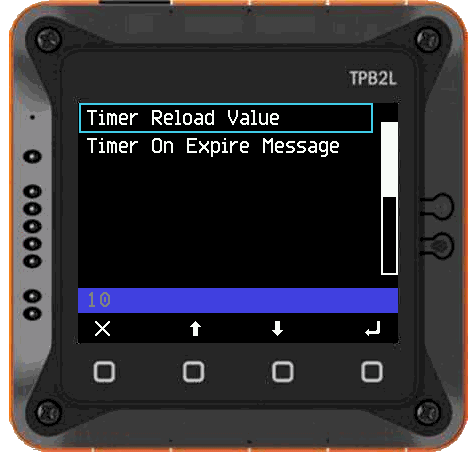
Let's confirm the change by pressing the Enter/Confirm button. The updated value should now be displayed on the screen.
Changing settings with different UI Control Types follows a similar process.
The interface for a dropdown is slightly different but the edit mode is accessed in the same way.
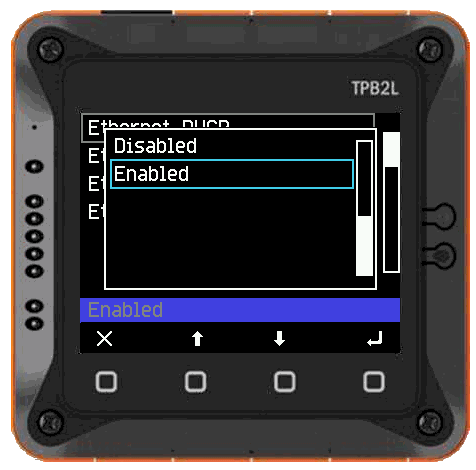
All the above images show different interfaces created through AppBlocks with minimal configuration.
To exit the LCD menu, return to the group list and press the Exit/Cancel button. Confirm the action by pressing the Enter/Confirm button when prompted.